Showing posts with label Mac. Show all posts

Thursday, April 3, 2014

MAC Mineralize Skin Finish : Tried & True


I'm definitely one of those people that always complains about how the week is dragging on and then it's suddenly Thursday afternoon and I'm thinking "Where did this week go?".  I've brought back Tried & True for this week because I realized that I had been neglecting these two products, which is sad since I love them both so much. I'm not a huge fan of all of MACs products, but Mineralize Skin Finish line is one of those things that MAC does very, very well. I don't currently have any traditional powder from them right now, but the two that I am currently rocking (and you've undoubtedly seen pop up on here in tutorials and videos) are Soft & Gentle and Redhead.

Redhead on the left, Soft & Gentle on the right

I will admit that I was a bit reluctant to talk about Redhead because it was a LE shade, but I know that it's been rereleased at least once because I bought it during a rerelease. MAC seems to do that a lot, don't they? They have these LE items, but they rerelease them all the time because people love them so much (MAC's insane number of limited edition items is on of the things that I don't like about them). There were also Blonde and Brunette shades of the MSF, but the sales associate recommended this for me. The reason that I like Redhead so much is because it is unlike any other highlighter that I have; it's pink based whereas a lot of highlighters are very golden. That pink undertone let's it create a very ethereal and romantic look which is exactly what I want sometimes. 

Soft & Gentle, on the other hand, is much more golden but has a bit of pink, or perhaps copper, to it. It's loved my many, many people and the reason is because it's so universal; neutral, olive, warm, and cool undertones can all get away with this as a highlighter since it reflects so differently. On me, with my warmer skin tone, it reflects with a bit of a copper sheen but on someone who is cooler, I imagine that it would reflect a bit more golden. 

Redhead on top, Soft & Gentle on bottom (TWSS?)

The powders are soft and easily transfer from the brush to your face to give it a really nice soft sheen. There is glitter in these two MSF, but it's so tiny and so fine, that you have to be right next to someone's face to be able to see it. Otherwise, it just comes across as shimmer. One of the most fantastic things about these powders (aside from everything that I just listed) is how long they'll last you. Yes, sure, they're $30, but I've owned Redhead for a year and a half and I've just start to make a dent in the dome; Soft & Gentle barely has a dent. 

If you are looking for a new highlighter, I would definitely recommend stopping by MAC or a counter and checking out Soft & Gentle, I think you'd love it. Unfortunately, MAC's website appears to be out of Soft & Gentle, but it's on basically everyone else's sites.

Questions or comments? Please feel free to leave them down below!

Friday, August 23, 2013

Lady At Play : Tutorial


Lady at Play was a recent purchase from MAC, but I had no idea how hard I would fall in love with the shade. The MAC Mineralize Lipsticks are a very different finish than the other MAC lipsticks; smoother, creamier, more luxurious (as they should be since they cost $7 more). I decided to build a look around this lipstick; a look for a bold lip. You can pair the face/eyes with any bold lipstick, just make sure that you're sticking to similar tones to keep the makeup from looking off. 


Questions, comments? Let me know down below!

Tuesday, August 13, 2013

Flawless Skin : Tutorial

To me, the worst thing that can happen to you, makeup wise, is losing your "perfect" base. What do I mean by that? I mean skin troubles. I think of my skin as the base to all of my makeup looks and when my skin and I are not getting along, I feel like nothing else looks good. Unfortunately for me, the last few weeks have been really bad in the sense of my skin being a total jerk. Granted, I put it through some horrible things, but its retaliation was stupid and childish... or at least teenagerish. Yes, friends, my skin broke out horribly, so horribly in fact, that the last few tutorials you saw that were photos were done far in advance of the worst breakouts. My skin is finally starting to clear up, but I thought that this would be the perfect time to show you how to go from not-so-amazing to flawless with the help of makeup.


We're going to start with clean, moisturized skin. I usually use a very gentle cleanser in the mornings and leave my more abrasive cleansing (i.e. my clarisonic) for night. I've been using micellar water in the mornings and leaving it at that, but since my skin was freaking out, I stepped it up and started using Boscia's Purifying Cleansing Gel. I went back to my normal moisturizer, Clinique's Dramatically Different Moisturizing Gel, after unsuccessfully trying a few other brands. This is where I start, every time. No matter how badly you're breaking out, it's not an excuse to skip moisturizer.


I move on to foundation, which when my skin looks horrible, is always Revlon Color Stay in Buff. I blend it into my skin using the Real Techniques Expert Face Brush, but a Beauty Blender would work wonderfully as well. I don't typically use primer, but you would obviously prime before this step if you do. 


And then conceal! I use two different concealers; one for undereye and one for blemishes. For under my eyes, I've been using NARS Creamy Radiance Concealer in Chantilly because it's super opaque, but moisturizing so it doesn't crease. For my blemishes, I like to go in with Dermablend's Quick Fix concealer in Ivory and spot treat. If your blemishes has texture, exfoliate before hand to get rid of any flaky skin or apply a creamy concealer so that the flakes aren't amplified.


This is one of my tricks for flawless looking skin; cooking your concealer. This is a makeup tip learned from drag queens, but doing it makes your cheeks look amazing and luminous and overall fabulous. I use MAC Studio Finish in NW20, which is the completely wrong everything for me (I was poorly matched a year ago... I should have taken it back), but it works so well for cooking. To read up more on cooking concealer, read here


And then I used my typical setting powder and did the rest of my face. All of these photos were taken in natural lighting, so this is as true as it's gonna get photography wise. 


And here's the difference. Do I do this look every single day when my skin is in a sad state? No, absolutely not. I generally like to stick with my normal routine until it's over, but sometimes, you just need a pick me up or need to go somewhere and not have 16 visible zits on your face.

I hope this was helpful and if you'd like me to do a video showing this, let me know in the comments! Feel free to leave any other comments or questions as well.

xx, 
Bisous Darling

Saturday, July 13, 2013

Sparkling Smoky Eyes : Tutorial


I love smoky eyes, but I don't particularly like using blacks or greys to achieve the look because I think that those two colors can be pretty harsh. I really love using dark browns and that's where this look originated. To make the look more fun, I added some glitter pigment from MAC. To find out how to get this look, keep reading!

Friday, May 10, 2013

RiRi Woo : Swatched


Since this is going to be a super short post, there will be no jump, so you can just read right through. RiRi Woo arrived a few days ago and I have swatched it for you and put it on my lips so that you can see how it looks! It's sold out for the time being, but it will be coming back in June (you can sign up on the MAC website to be notified of its return). The "bullet" has Rihanna's signature on it, but it's not very deep, so you're not losing very much product.


When I first swatched it, I could definitely see the blue undertones in the lipstick right away. I was a bit concerned that this might not match my skin since I have fairly warm undertones...


Ok, let me explain this shoddy application. 1) This lipstick is a Retro Matte, meaning it's really matte and it's a bit dry and hard to apply... so 2) I had a hell of a time getting this to look pretty without a lip brush/lip liner. It should get easier to apply the more, but this was the first use of the lipstick, so it was really difficult. 


And a full face photo so you can see it in relation to my face. Since the lipstick has blue undertones, it makes your teeth look a bit whiter, but it still works with my warm undertones. It's a nice lipstick and since I don't own Ruby Woo (I've heard that these two are almost the exact same thing), it's a welcome addition to my collection. The next time I wear this though, I will have balm underneath, line my lips, and apply with a lip brush.

(all photos copyright Allison Richardson Photography and not available for use without permission)

Monday, May 6, 2013

Recent Purchases : Real Talk


Again, if you follow me on Facebook, you get to read about my recent purchases but in the past, that's pretty much where it ends unless I write a review on it or use it in a tutorial. Due to that and the fact that not all of these items will show up on of those two places, I thought it might be fun and lighthearted to show you what I've bought beauty wise in the last two weeks or so and give you a little insight as to why I purchase them. Keep reading to find out more on the products above!

Monday, February 4, 2013

Countouring : Tutorial


Contouring; I first found out about this idea when I was in elementary school and obsessed over the books by Kevyn Aucoin (look. these. up.). He broke down how to do contouring on your face and what products to use and made it very easy to understand. Unfortunately, I think that contouring has become better known because of the Kardashians and like most things that they get involved with, it's gotten a bad reputation. The Kardashians really take contouring to the next level and wear photoshoot contouring in their everyday lives. Keep reading to find out how to do contouring in your everyday life and how to maintain a natural look.

Friday, February 1, 2013

Face of the Day : February 1


Occasionally, and not very often, I will wake up and a makeup idea will come into my head and I have to execute it that day. This morning, I woke up with the color pink in my head and thought it would be fun to play with pink shadows. The color pink is often hard to wear around the eyes because it gives a really sickly appearance if the shade isn't right. I chose to go bold and just do pink all over. Click through to read about what products I used and more full look pictures.

Thursday, January 31, 2013

Cara Delevingne Look : Tutorial


I feel like this has been a long time coming since I posted the reference picture on Facebook earlier this week. I had found a picture of Cara Delevingne back stage at a fashion show and I loved the makeup that they had done for her. I decided to recreate it with a slightly more wearable twist, so keep reading to find out how to do it!

Monday, January 21, 2013

What's in my Bag?

What's in my Bag?


For reasons unknown, I find it incredibly fascinating to know what other people carry around in their makeup bags or purses. I've decided to share with you what I carry in my makeup bag for every day use. This isn't every item that currently sits in my bag, because some of those things I barely use or are really boring (i.e. tweezers - I used Tweezerman by the way). The picture above is my current makeup bag, which is a LeSportsac bag I picked up on clearance at DSW about 2 years ago. I've decided to break this up into categories, so let's dive right in!

Sunday, January 20, 2013

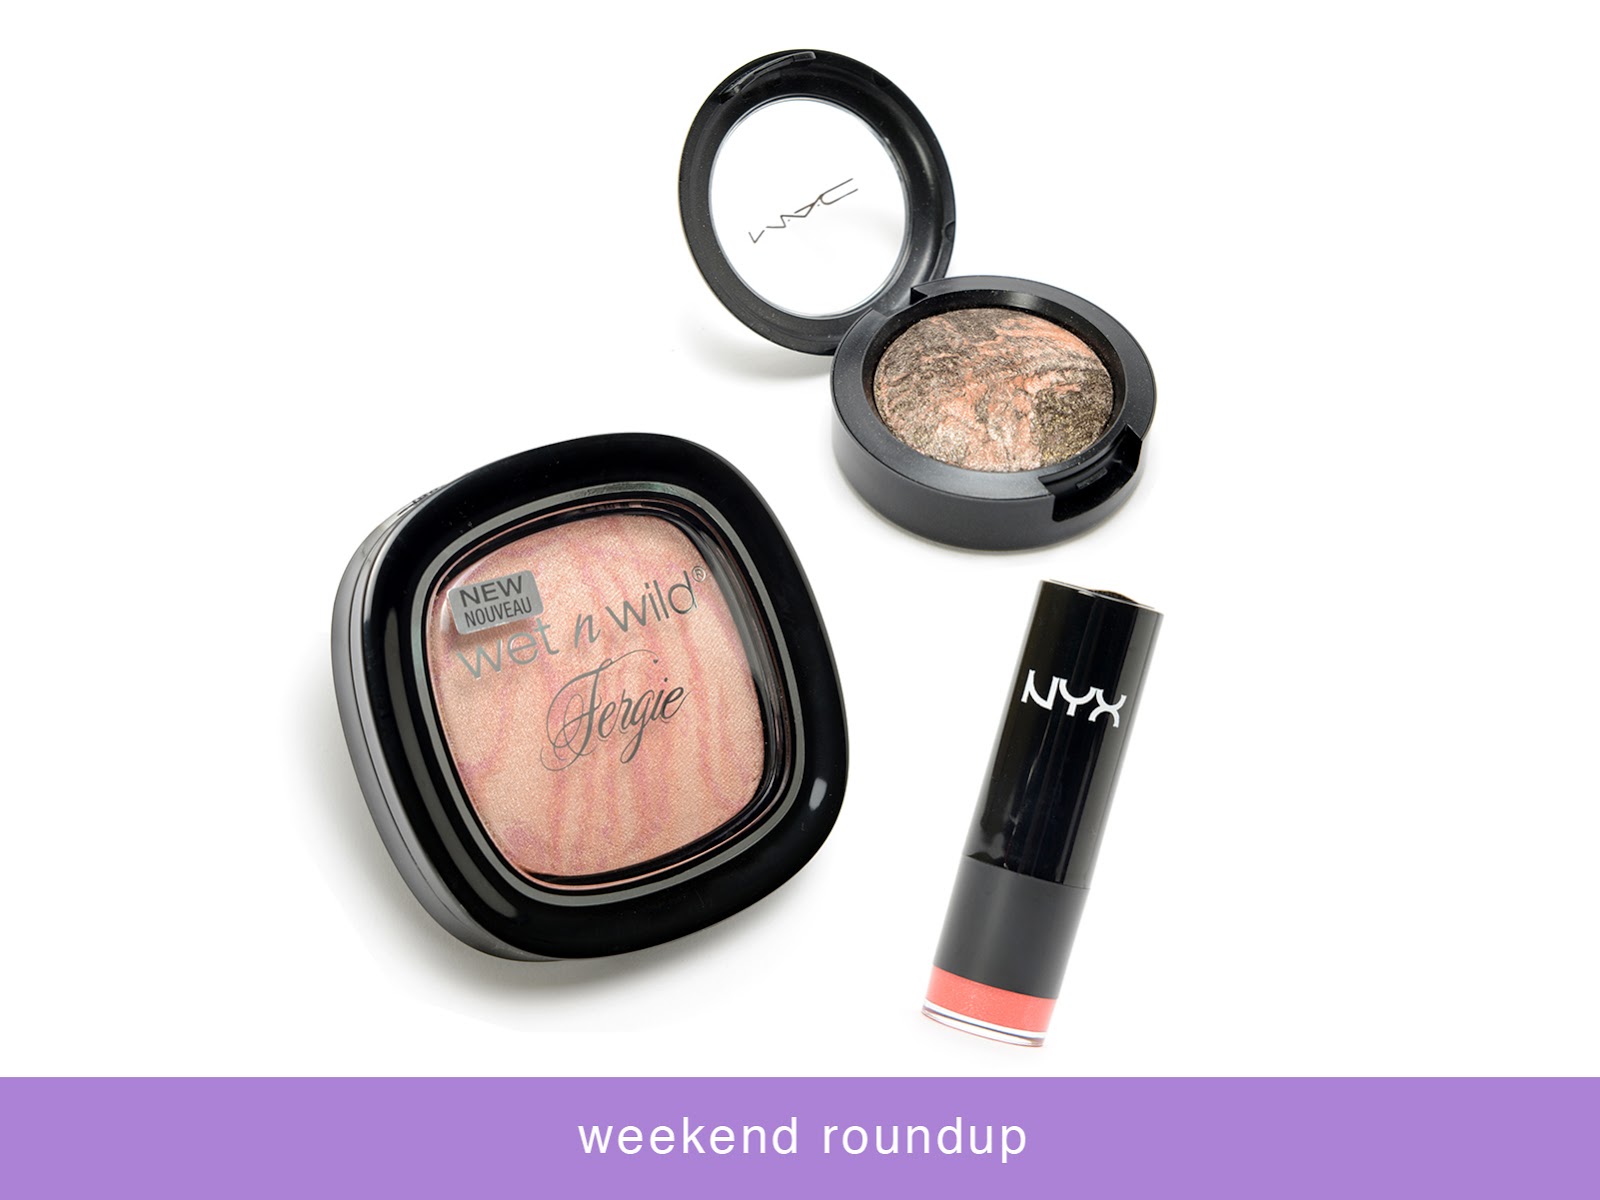
Weekend Round Up


Weekend Roundup is simply a post to wrap up the week and let you guys know about new things I've picked up and am excited to use. This weeks roundup has two drugstore products and one high end product. Click though for more info!