Showing posts with label tutorial. Show all posts

Friday, January 24, 2014

90s Inspired Makeup : Tutorial


Hello all! I completely messed up my audio recording for this, so you just get to listen to pretty music while I do the makeup (I tried to pick something that sounded kind of like 90s music). This is a very simple, 90s inspired look; think silver eye shadow, dark lips, and matte skin. If you weren't alive for this time in makeup, just google "90s Delia*s Catalog" and you'll get where I was going.

Hope you all have a fantastic start to your weekend!

Tuesday, December 10, 2013

Holiday Smokey Eye Makeup : Tutorial


Hey everyone! Like, I said, I would start to do more videos once I got a new camera and here you are, already into the second video. The folks over at Studio Gear Cosmetics were kind enough to send me their Holiday Smokey Eye Palette and I created this look with it (and a few other things). If you are interested in the palette, you can find it right here (and it's on sale right now!) and use code SGHOLIDAY for 10% off. 

Questions or comments? Let me know down below!

This palette was provided to me by Studio Gear Cosmetics

Tuesday, October 22, 2013

Skull Face : Tutorial


Enjoy!


Also, I don't know what's going on with video quality and my camera, but it's something funky and I don't like it. I'm working on getting a different camera all together, so this early 90s film look won't be around for too much longer.


Friday, September 20, 2013

Rusted Over : Eye Tutorial


I know that I've done a lot of red toned eye makeup tutorials over the last few weeks, so after this one, I'm definitely going to take a little bit of a break from the red and venture into other colors for you guys. However, with Fall (or Autumn) just around the corner, I decided that this might be the perfect eye look to welcome it! 


As per usual, prime those eyes. I'm using NARS Smudgeproof Eyeshadow base.


I took a cream colored shimmery base and applied it all over my lid and all the way up to the brow bone. I also took a bit and smudged it into my tear duct. I used Maybelline Color Tattoo in Barely Branded.


I used Stila eyeshadow in Terracotta and applied it to the outer half of my eyelid.


And blended it out.


And brought it under the outer corner of my eye.


And then went under my eye with a shimmery taupe shade to help bring a little bit more definition. I also worked this into the crease a bit, which is hard to see, but it is there!


And then tightlined and added mascara to the top and bottom lashes.


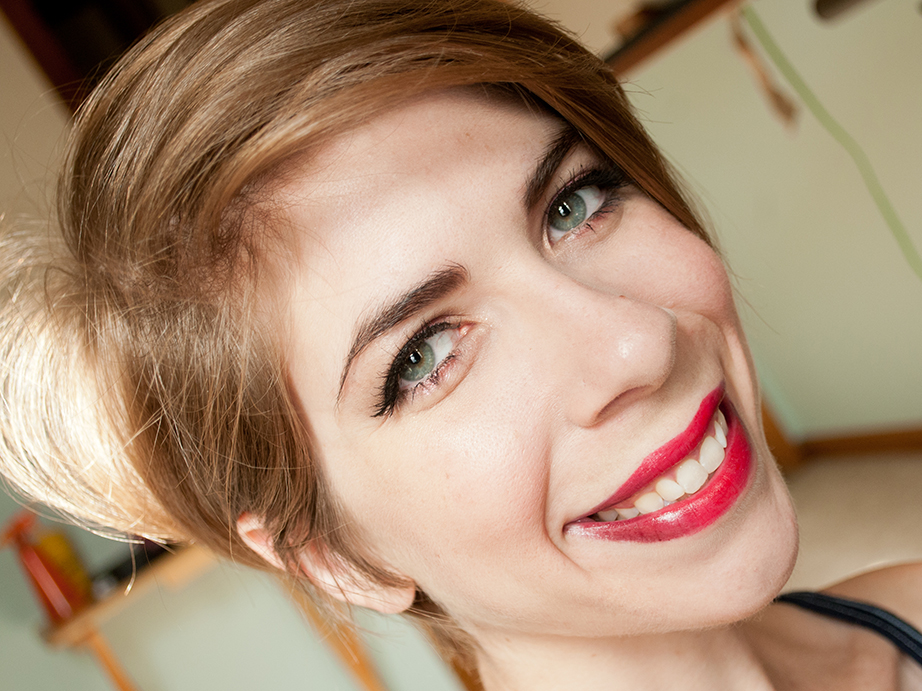
And topped it off with a warm toned, basic pink on my lips. 

Quick and easy! If you have questions or comments, let me know down below!

Wednesday, September 11, 2013

Ombré Lips : Tutorial


Remember when I did this the first time and said "If you want a tutorial, let me know!"? Well, here I am getting around to this tutorial. I decided to do this as a pictorial tutorial because the lighting is better than when I film with my janky 100 euro camera that I picked up in France 3 years ago. It's a very, very easy concept, but you need to make sure that you're using products that you're comfortable with. I'm showing you how to do this with reds, but you can use any shade to achieve an ombre. Light pink and dark pink would make an adorable combo! I, myself, would stay away from nudes since it would make me look like I just ate chocolate chip cookies and missed a few spots when wiping my mouth. Keep scrolling down to find out how to achieve this look!


First off, I line the center of my lips with a fairly true red lip pencil. You don't have to use anything fancy for this, just use whatever lip liner is your favorite. I'm using a Sephora brand liner, but I also love Jordana Easyliners (and they're something like $2.99 at Walgreens).


I then go in with my red lipstick, which for this tutorial is Kate Moss for Rimmel in shade 01, and apply it directly to my lips.


It's hard to tell the color difference here, but I went in on the outer corners of my lips with a slightly darker red liner. Yes, that's liner on the outer corners! This step is optional if you have a really bangin' dark wine colored lipstick (like... NARS Train Bleu). My wine colors lipstick can apply a bit patchy, so I do this to make sure that it won't show up like a blotchy mess.


I then apply my dark wine colored lipstick on the outer corners. I use a discontinued Smashbox Be Legendary lipstick, but anything lovely and dark will work.


And I blend it in. I usually just use my fingers, but if you don't want to do that, I would recommend something slightly fluffier than your typical lip brush. I use a cheap E.L.F. eyeshadow brush when I don't want to get my hands dirty.


And there it is! Questions, comments? Let me know down below!

Thursday, September 5, 2013

Purple on Purple : Tutorial


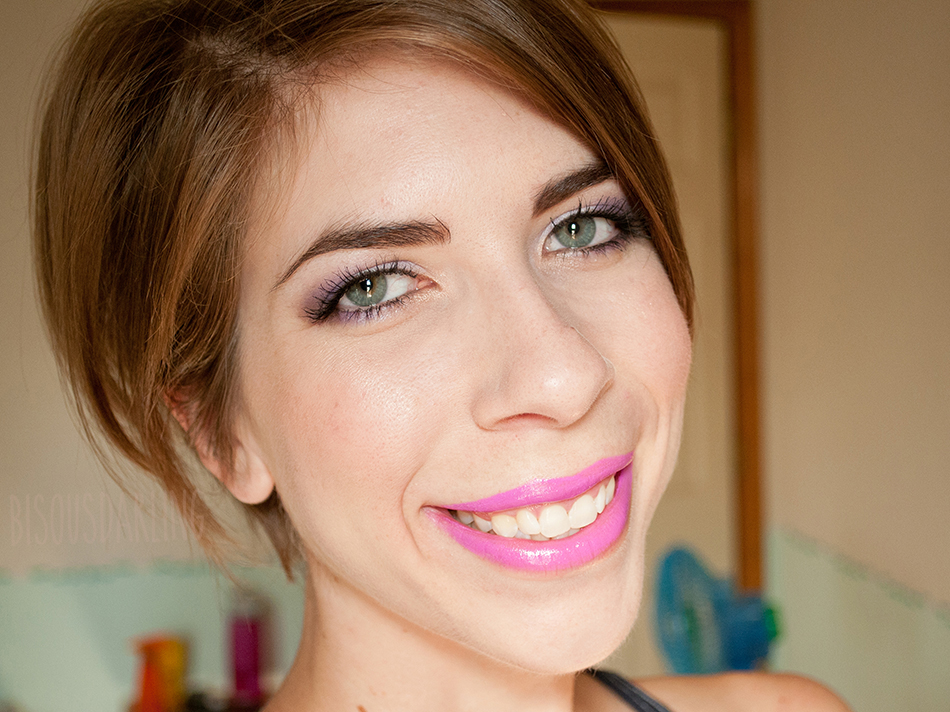
I was thinking the other day of doing a monochromatic look, but I was having trouble thinking of a color that I could use on both my lips and my eyes. Obviously, the first color that comes to mind is pink or red, but I wanted to try something different (since I've already done an all pink look... several times), so I decided on purple. The purple on the lips doesn't show up perfectly true to life since I find it to be more purple toned rather than the pink it looks in the photos and video. 

Take a spin through the photos and if you're interested in how to recreate the look or what products I used, watch the video! 


Tuesday, September 3, 2013

Shiro Cosmetics : Eye Tutorial


If you follow me on Facebook or Twitter, you would know that I purchased some Shiro Cosmetics eye shadow samples about two weeks ago. After thinking about it for a few days, I decided that I wanted to press the shadows to make them easier to use and I decided to test out my finished product this morning.


I pressed 4 shadows last night and use three of them for this look; those being Sweet Honey (top), Unforgettable (right), and Chimera (bottom). The fourth shade is Steve and I haven't used it yet, but it swatches beautifully. Now, on to the look!


Blank canvas. My skin and I are still not getting along very well... 


Much better! I used my Jouer Matte Moisture Tint, Maybelline Instant Age Rewind Dark Circle Eraser, and L'Oréal True Match Super Blendable powder.


Prime those lids! I pressed my shadows, but they came to me loose. If I had chosen to use them loose, I would be using a primer and a base, such as NYX Jumbo Eye Pencil in Milk. The pressing makes them much more manageable, but you do have to work a little bit harder to get the color as dense as when you use them loose. In the end, it all comes down to preference.


Using a small shadow brush, I applied Unforgettable over most of my lid. I avoided the tear duct and the outermost corner.


Using a Sephora Crease Brush, I applied Chimera to the outer corner and completely along the socket bone. I blended as I worked since I wasn't sure how well the Shiro eye shadow would blend. Honestly, this is maybe one of the easiest shadows I have ever blended with. It is so soft and so easy to work with... Sigh, it's the eye shadow that dreams are made of.


Using the small shadow brush again, I brought Chimera down under the eye on the outer half and brought Unforgettable down on the inside half.


I applied some winged liner (Stila Stay All Day Liquid Liner) and dusted Sweet Honey on the brow bone and the tear duct. I had to be careful with that shade since I messed it up a bit in my pressing extravaganza last night... 


I filled in my brows just a touch with Espresso from Stila and then used my Chella brow gel over the top of that. I applied mascara on top and bottom lashes using Lancôme Hypnôse Star mascara.


I finished off the look with very subtle blush and highlight and did a quick ombré lip using Bite Beauty lipstick in Pomegranate and a discontinued Smashbox Be Legendary lipstick (anything that is a dark wine will work). If you guys want, I can do a very quick video tutorial on how to do the ombré lip!

That's the look. If you have any questions or comments, feel free to leave them down below. More video tutorials to come as well... :D

Friday, August 23, 2013

Lady At Play : Tutorial


Lady at Play was a recent purchase from MAC, but I had no idea how hard I would fall in love with the shade. The MAC Mineralize Lipsticks are a very different finish than the other MAC lipsticks; smoother, creamier, more luxurious (as they should be since they cost $7 more). I decided to build a look around this lipstick; a look for a bold lip. You can pair the face/eyes with any bold lipstick, just make sure that you're sticking to similar tones to keep the makeup from looking off. 


Questions, comments? Let me know down below!

Thursday, August 8, 2013

Easy Sultry Look : Tutorial


A sultry look doesn't have to mean dark eyes and lips; it can be easily achieved using light and mid range shadows and bold lip! This is one of my favorite looks to play with and you can wear the eyeshadows without the lip for a daytime look or change the eyes and play with the bold lip for a statement look. However, put together, they do create a bit of a sultry look (ignore my cheesy smile above) that is easily recreated. Hit the jump for the video tutorial and more photos of the completed look.

Thursday, August 1, 2013

Jasmine Eyes : Tutorial


I don't know if I've ever referenced, on the blog, I know have on Facebook, the fact that I am a Reddit user. I frequent Makeup Addiction over there and I recently took place in a makeup exchange. My partner sent me the Jasmine quad from the Disney Princess for Sephora collection. The colors are gorgeous, so I decided to put together a look!

Friday, July 26, 2013

Wearable Orange : Tutorial


If you're like a lot of people, the idea of orange makeup is kind of terrifying. Probably because we've all seen that lady who decided that bright orange lipstick was her color and... it definitely wasn't (but props to this lady for rocking it and simultaneously making us terrified). However, when worn correctly, orange can be a really flattering shade. You'll have to put in the time to figure out what shade of orange works for you, but then you can rock it everywhere. Keep reading to see how I used it!

Thursday, July 18, 2013

Metropolitan Eyes : Tutorial


I did a review of a Revlon Photoready eye shadow palette several months ago and after using it a few times, I kind of threw it to the side. While the shadows are really nice for Revlon (if you've ever used Revlon shadows, you know what I mean by this), but they didn't strike me as anything special. Well, I saw this palette a few days ago and decided to try it again. To get this look, keep reading!

Saturday, July 13, 2013

Sparkling Smoky Eyes : Tutorial


I love smoky eyes, but I don't particularly like using blacks or greys to achieve the look because I think that those two colors can be pretty harsh. I really love using dark browns and that's where this look originated. To make the look more fun, I added some glitter pigment from MAC. To find out how to get this look, keep reading!

Wednesday, July 3, 2013

Independence Day Look : Tutorial


Since tomorrow is July 4th, I thought it would be fun to do a look that is patriotic, but still fairly wearable. I don't think you would find me wearing this around every day, but this is definitely something that you can wear around without people giving you odd looks. Keep reading to see how to get this look!