

I don't do dark, dramatic eyes very often in real life because I think that they look goofy on me, but every once in a while, I get a desire to do them. I also tend to shy away from using straight black shadow, but I figured since I am in the midst of #30daysofmakeup (on Instagram, you can follow me @bisoubisoubangbang), why not do a look I haven't done in a while. Pretty much every time I show a smoky eye, I say that it's "really easy", but they so often are really easy. Keep reading to find out how to achieve this look.

Eyes
1) Maybelline Eye Studio Color Tattoo in Bad to the Bronze
2) L'Oréal Colour Riche Eye Shadow quad in Shopping Spree (this was given to me by L'Oréeal as compensation for completing an at home research study)
3) Noir Longwear Eyeliner
4) E.l.f Studio Eyebrow kit in Medium
5) Chella Eyebrow gel

Face & Lips
1) Too Faced Milk Chocolate Soleil bronzer
2) MAC Mineralize Skin Finish in Redhead
3) TheBalm Hot Mama blush
4) J. Cat Beauty Fantabulous Lipstick in Splashed Pink (this was provided to me c/o J. Cat Beauty)

Tools
1) Bare Minerals Dual Ended brush (just the blush side today)
2) Missha Medium Base Brush
3) MAC 219
4) Sephora Blending Brush
5) E.l.f. Angled Contour Brush
...and let's begin!

Since the weather has cooled back down a bit, I switched back to the Laura Mercier Silk Creme foundation; everything else has remained the same.
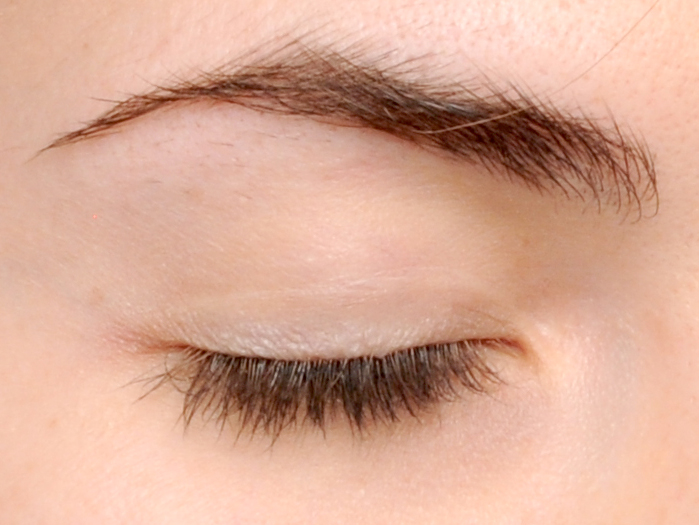
Naked eyelid! I actually put primer on my lid, but this step is optional, it just depends on how oily your lids get. If you're an oily lidded person, I recommend going with the primer.

Using my finger, I just slapped on a layer of Bad to the Bronze. I did this to add a bit of dimension to the look; flat black scares me.

Using my Missha brush, I patted on a good layer of black eyeshadow all over the lid.

I didn't go up over the socket since I knew I would be blending this out and I didn't want the black to extend to my eyebrow. Just a little bit of black over the end of my eye so that I could later convert that to a bit of a wing.

I took the coral shade from the L'Oréal quad and used that to blend the edges of the black and warm up the look.

My eyes are fairly round, so I decided to extend the black out to make a bit of a wing. I extended it by taking the coral shade on my blending brush and blended outward.

I took the peachy gold shade from the quad and applied it to my brow bone and my inner corner using my fingers.

I took a smidge of black eyeliner and ran it under the outter corner of lower lash line and then smudged with my fingers.

And then took my MAC 209 and applied some black shadow on top of that.

And then put some coral on the same brush and blended it all out a bit.

I tightlined my upper lash line, lined my water line, and added mascara (Covergirl Clump Crusher... verdict is still out on this one). I used my e.l.f compact and Chella to define my brows.

I took my contour brush and applied the Milk Chocolate Soleil bronzer and blended it out with my Bare Minerals brush.

And then applied highlighter and blush.

And some pink lipstick!


And there you have it! Would you guys try a look like this? Let me know in the comments down below!
(all photos copyright Allison Richardson Photography and not available for use without permission)
No comments:
Post a Comment